June 24-25 2003
(I'll soon update this page with a better description)
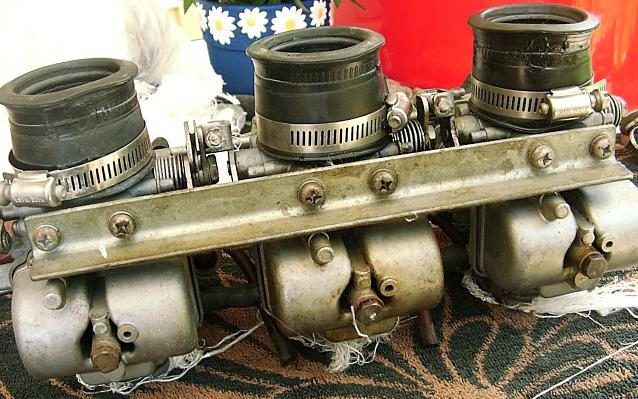
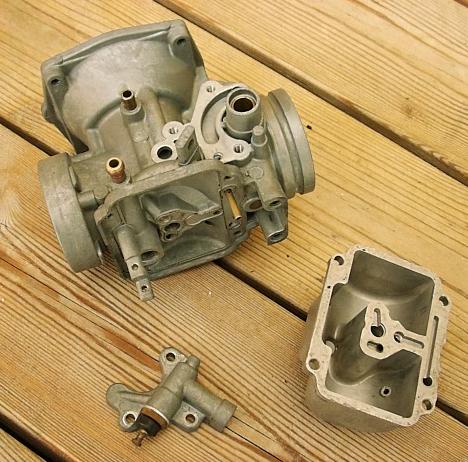
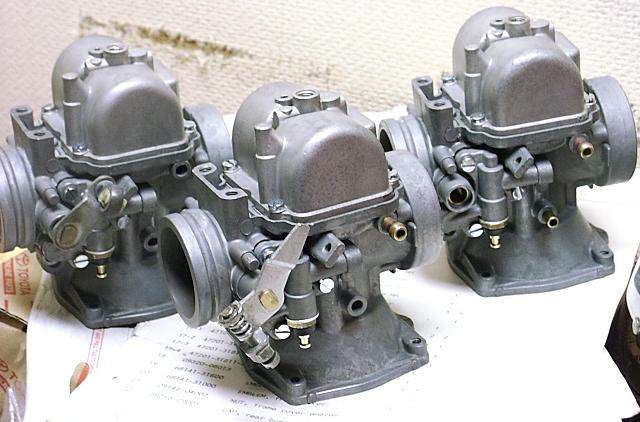
This page briefly shows photos from my two day carb rebuild exercise part of the GT750L restoration.
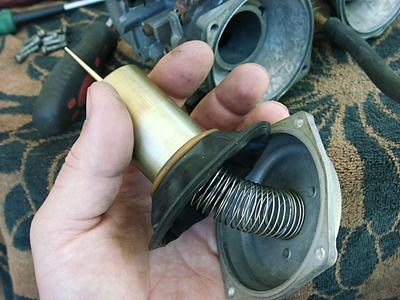
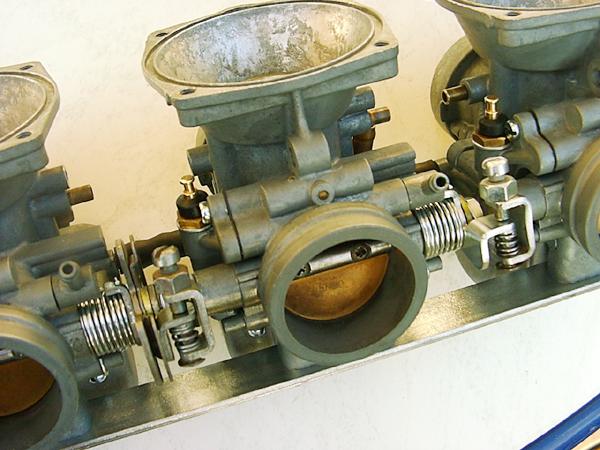
The carbs are made up of quite a number of parts, each having some vital function that means it's not a good idea
to lose any of them during the job. I found out that these carbs are very easy to work on despite the seemingly
complex linkage. It is all really very simple and having done this job will get a much better understanding on
how to adjust the carbs once they are on the bike.
I didn't do any pure concours rebuild (no bead blasting), this was a general cleanup and some items were zinc plated to bring some finish to the resulting unit.
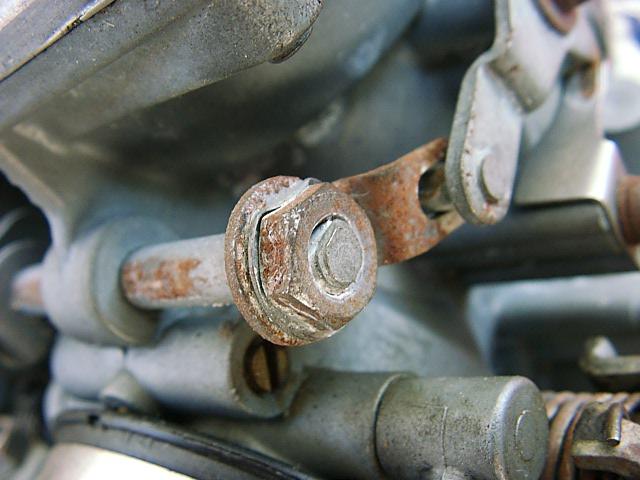
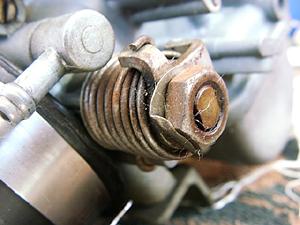


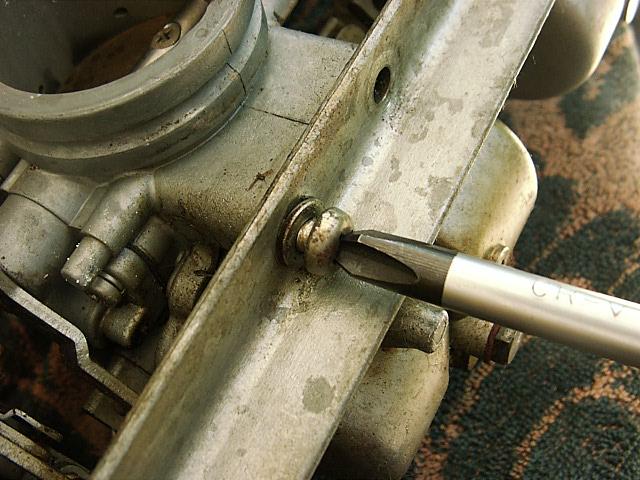
Make sure you use a Phillips #3 screwdriver in fresh condition. These screws can be very tight and if you destroy
the screw head it's the beginning of a lot of repair trouble.
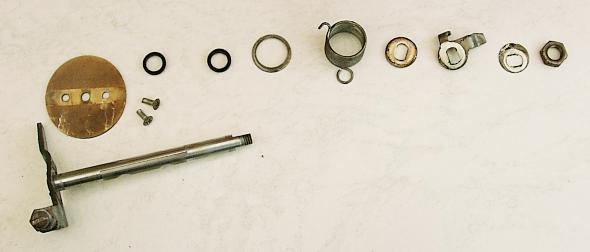
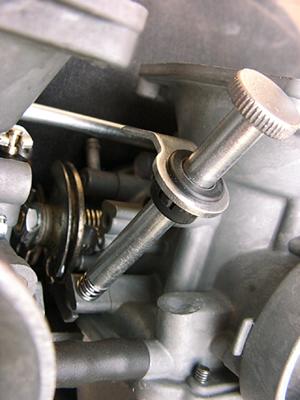
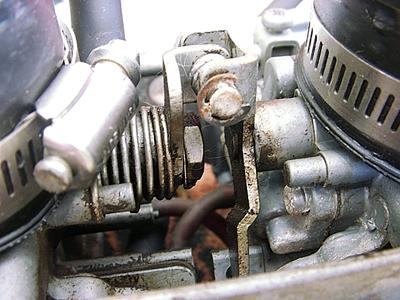
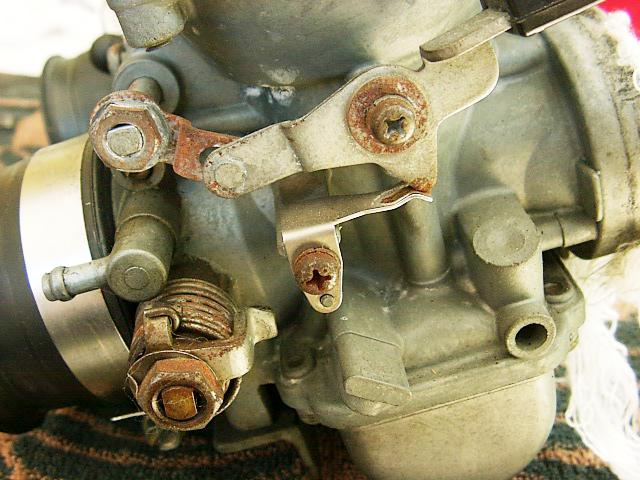
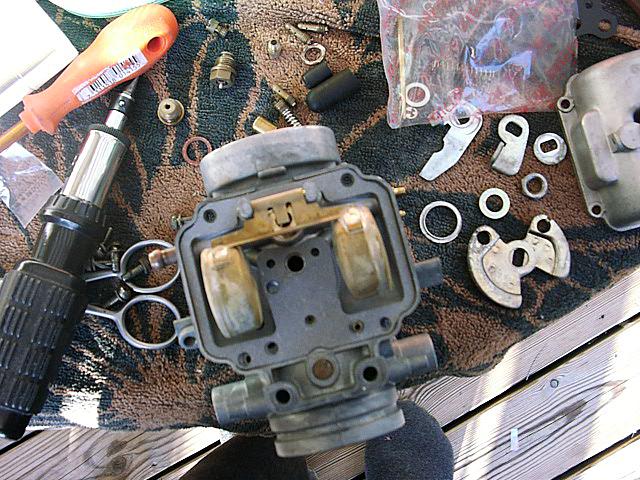
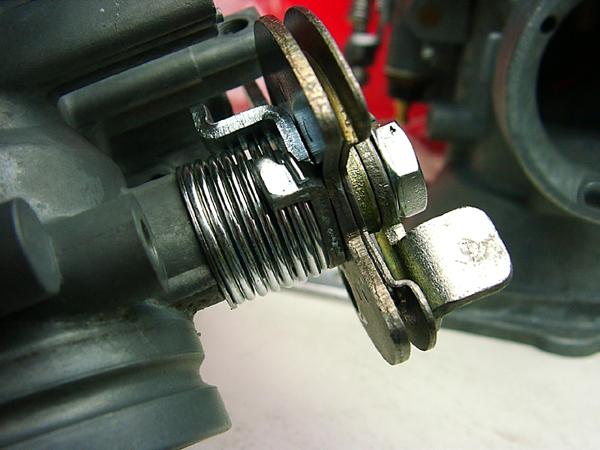
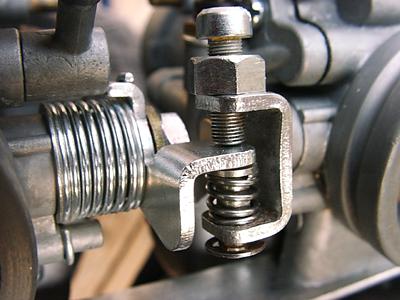
Taking photos like this during the disassembly is very valuable when you try to reinstall everything later on !
It shows the sequence of installing the little washers and parts.
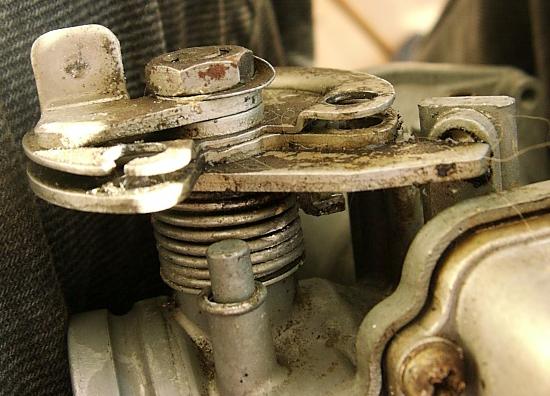
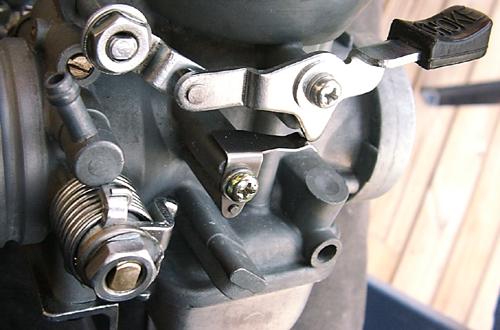
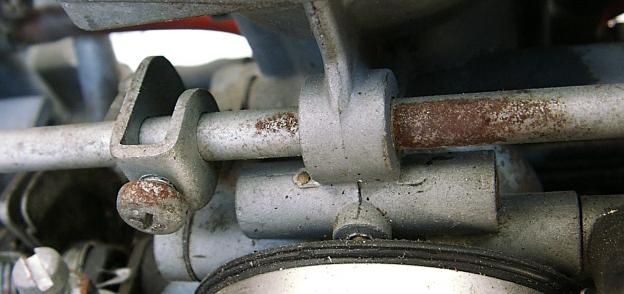
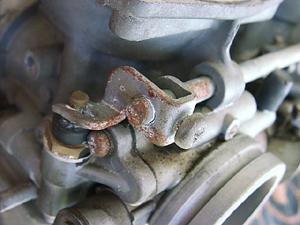
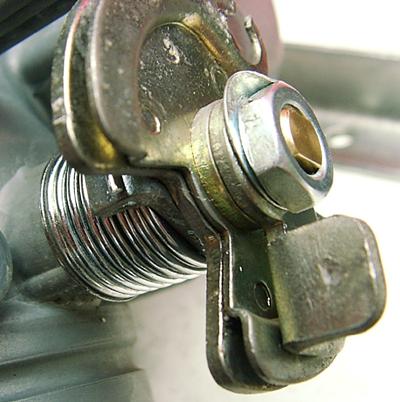
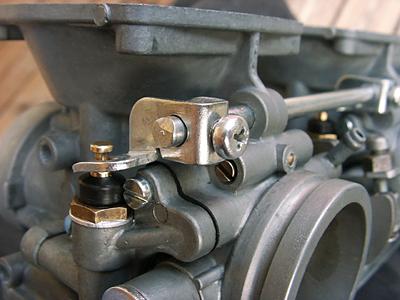
This rather complex linkage requires a photo as reminder when reinstalling.

And here are its parts in order of installing
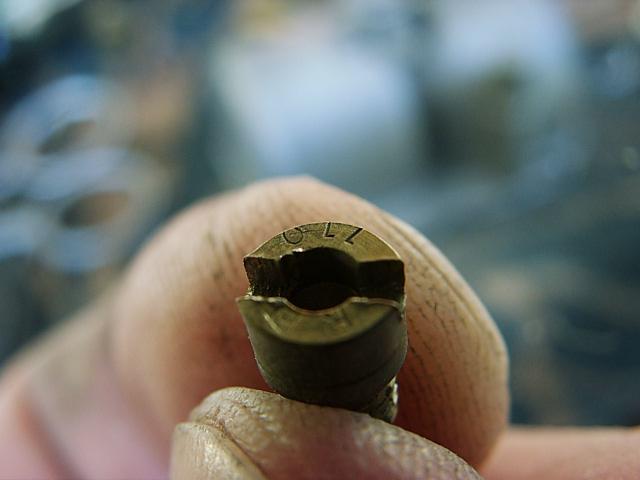
The jets were 110 so they match the jets of the Keyster carb kits.
..and around here a lot of cleaning and zinc plating work was done that wasn't documented in photos.
We return when it's time for the rebuild :
I cleaned all parts in Yamaha Carb Cleaner fluid in concentrated form. Don't get this on hands or elsewhere. It has kind of an etching effect but the result is very nice given how the carbs looked to begin with. Many of the little spring parts were cleaned up and then zinc plated/polished. I fitted Keyster carb kit parts to all the carbs but kept the original Mikuni needles and jets.
To make a long story short - here are some cleaned up parts.
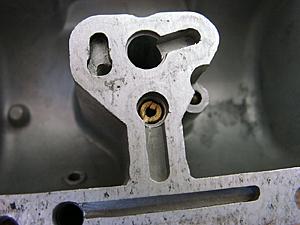
This shows the idle jet installed inside the float chamber.
and the main jet is located underneath it.

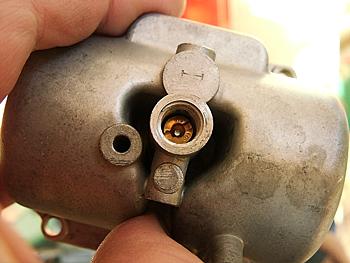
Here is a new float valve
No phone calls at this moment please ! But everything is under control...
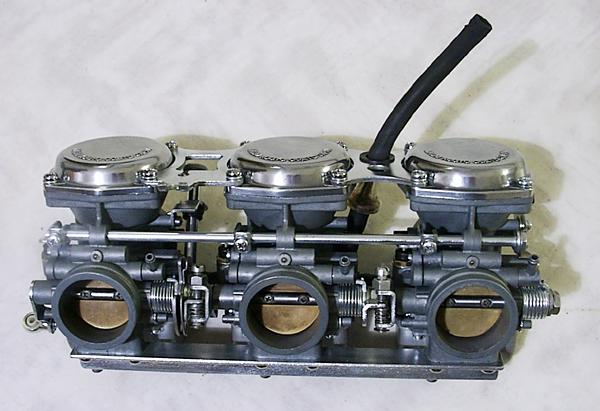
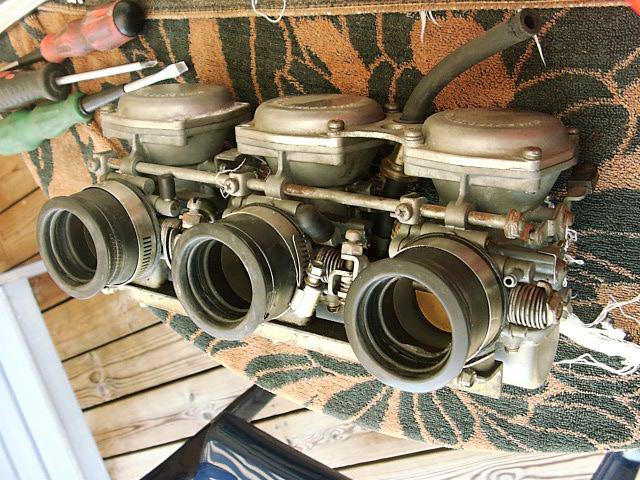
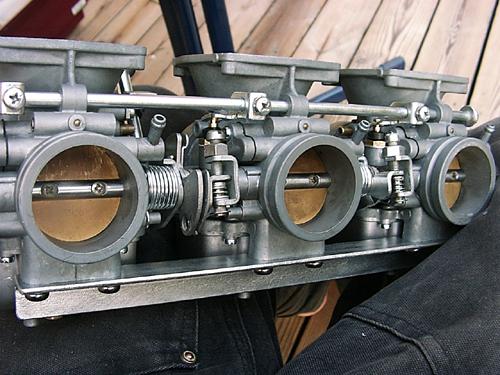
This was the status after one day of work...
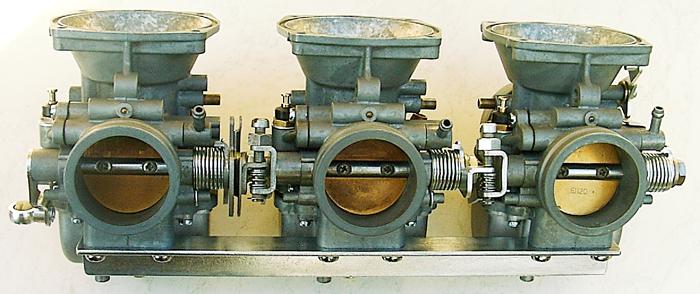
The array of carbs is coming together as one unit..
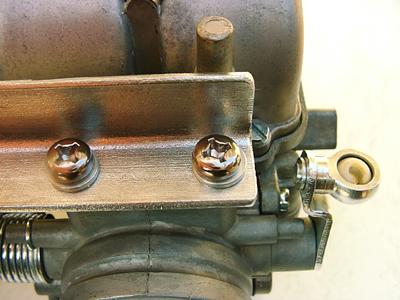
A few screws with slotted heads made it into the carbs, I had to get some progress and 'couldn't wait' for ordering
the correct style. But few around here will ever care.